Privacy statement: Your privacy is very important to Us. Our company promises not to disclose your personal information to any external company with out your explicit permission.
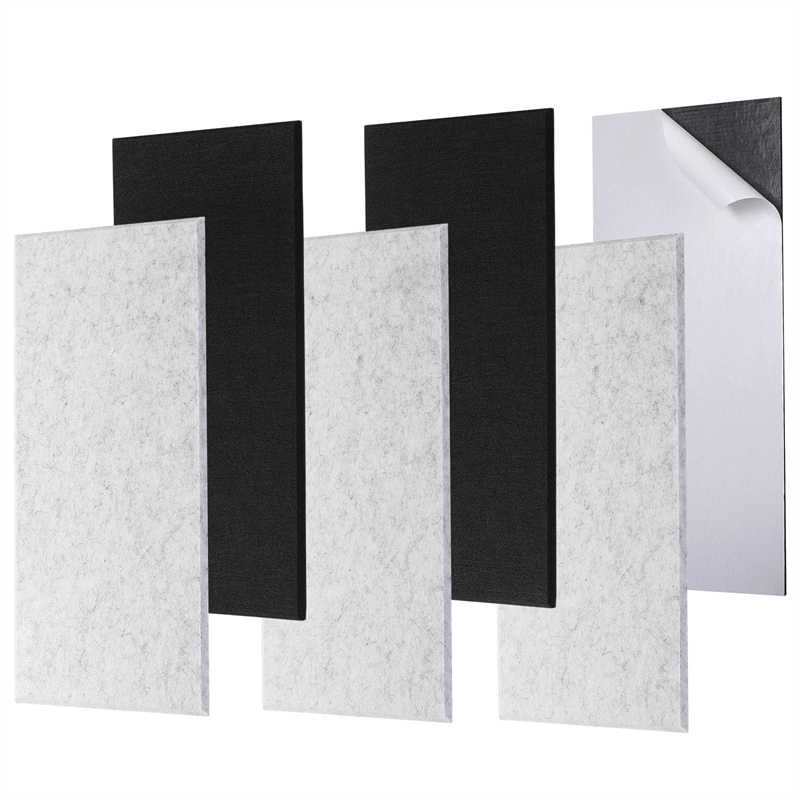
In order to help users better understand and master the installation process of PET Acoustic Panel acoustic felts, the manufacturer of 3D Acoustic Panel has recently released a detailed installation guide. This guide is designed to provide specific step-by-step instructions so that users can install the product smoothly and fully utilize its acoustic performance.

Pre-Installation Preparation
Before starting the installation process, the necessary tools and materials need to be prepared first:
- Measuring tools (e.g. tape measure)
- Marking tools (e.g. pencil)
- Cutting tools (e.g. hobby knife or special cutting knife)
- Fixing tools (e.g. glue, nails or screws)
- A flat wall or ceiling surface
Installation Steps
Step 1: Measurement and Planning
Measure the dimensions of the installation surface and determine the number of PET Acoustic Panels required based on the area to be covered. Draw out the installation floor plan and plan the location and layout of each panel.
Step 2: Pre-Processing
Check that the wall or ceiling is flat and clean. If necessary, sand and level the surface to ensure that it is free of dust and grease.
Step 3: Marking the mounting points
According to the plan, mark the mounting locations of each panel on the wall. Use a pencil to lightly draw outline lines or center points to facilitate subsequent installation operations.
Step 4: Cutting Panels
If resizing is required to fit a specific space, use the cutting tool to cut the 3D Acoustic Panel to the appropriate size. Take care to keep the cut straight and smooth.
Step 5: Fixing the panel
Choose the appropriate fixing method according to the actual situation:
- Gluing method: Apply special glue evenly on the back side, then quickly fit it to the wall and flatten it with a squeegee to make sure there are no air bubbles.
- Nailing method: Nails or screws are driven around the perimeter and in the middle part of the panel to ensure stability.
- Suspension system: For larger size panels, you can use a special suspension device to fix the suspension pieces first and then hang the panels.
Step 6: Adjustment and Inspection
After the installation is completed, carefully check whether each panel is firmly fixed without tilting or loosening. Adjust the gap between the panels to ensure the overall beauty.
Precautions
- During the installation process, avoid working in a humid environment so as not to affect the bonding effect.
- Wear protective gloves during installation to avoid direct skin contact with glue and other chemicals.
- For installation of large areas or multiple panels, it is recommended that two or more people work together to ensure accuracy and safety.
The manufacturer of PET Acoustic Panel hopes that this detailed installation guide will help users to complete the installation process smoothly and enjoy a quiet and comfortable acoustic environment.

November 14, 2024
March 08, 2024
February 28, 2024
January 26, 2024
Email to this supplier
November 14, 2024
March 08, 2024
February 28, 2024
January 26, 2024

Privacy statement: Your privacy is very important to Us. Our company promises not to disclose your personal information to any external company with out your explicit permission.

Fill in more information so that we can get in touch with you faster
Privacy statement: Your privacy is very important to Us. Our company promises not to disclose your personal information to any external company with out your explicit permission.